

How to File a Flood Insurance Claim: A Complete Guide for Homeowners
Flooding can devastate your home and finances in hours. When disaster strikes, knowing how to file a flood insurance claim makes the difference between a smooth recovery and months of frustration.
We at Grimes Insurance Agency have helped countless homeowners navigate this process. This guide walks you through every step, from documenting damage to receiving your settlement.
What to Do Right After Your Home Floods
The first hours after floodwaters recede are critical. Water damage worsens rapidly, mold begins forming within 24 to 48 hours, and your insurance company needs evidence of what happened. Act fast but strategically.
Document Everything Before You Touch Anything
Start your documentation before you touch anything or begin cleanup. Photograph and video record water lines on walls, damaged furniture, appliances, and personal items. Capture wide shots of each room and close-ups of specific damage. Record the height the water reached by marking it on a wall or door frame if possible. This visual record becomes your strongest evidence during the claims process. Detailed documentation significantly speeds up claim reviews and helps adjusters understand the full scope of loss. Keep samples of damaged materials like carpet, drywall, or insulation as physical evidence. Write down serial numbers and model information for major appliances and electronics before they’re discarded. Many homeowners skip this step and regret it later when the adjuster needs proof of what was destroyed.
Contact Your Agent Immediately
Call your insurance agent or insurer the moment you have safe access to your property. This is not something to delay. Your agent will explain what’s covered under your specific flood policy and walk you through the next steps. Ask your agent whether you can start repairs before payment arrives. The answer depends on your policy and the adjuster’s assessment, so obtain written guidance before you sign any contractor agreement. Many homeowners make expensive mistakes by hiring contractors and starting major repairs without approval, then finding out certain costs won’t be reimbursed. Your agent also protects you from fraudsters. Verify any adjuster’s credentials by asking to see their Flood Control Number card. Imposters posing as government agents or adjusters target flood victims, so legitimate representatives expect this question. Keep receipts for any emergency repairs or mitigation measures you take, like water removal or temporary tarping, as these may be reimbursable.
Prevent Additional Damage Immediately
Preventing additional damage is not optional. Turn off electricity to flooded areas if it’s safe to do so, as wet electrical systems pose serious hazards. Open windows and doors to increase air circulation and begin drying the space. Mold starts forming quickly, and standard flood insurance won’t cover remediation costs, so fast action matters. Remove standing water if you can do so safely. However, mold is not covered by NFIP policies, which means prevention through rapid drying is your only defense. Document the water removal process with photos and keep all receipts. These mitigation expenses sometimes qualify for reimbursement depending on your coverage level. Do not discard damaged items yet. Adjusters need to see the damage before anything disappears.

Store damaged items in a safe location where they won’t decompose further or create safety hazards, but keep them available for inspection.
With your property stabilized and your agent notified, you’re ready to move into the formal claim filing process. The next steps involve gathering the right documentation and completing your claim form accurately to ensure nothing slows down your settlement.
Filing Your Flood Insurance Claim
Your agent has guided you through the immediate steps, and your documentation is solid. Now comes the formal claim process, where precision matters. Collect every receipt, invoice, and estimate related to flood damage and emergency mitigation work. According to FEMA’s NFIP data, homeowners who submit organized documentation see claims processed faster and receive higher settlement amounts.
Build a Complete Inventory of Damaged Items
Create a detailed inventory that lists every damaged item, including the brand, model, purchase price, and age. This inventory directly impacts your payout, so treat it seriously. Include fabric swatches from damaged furniture and curtains to demonstrate pre-flood condition. Write down the exact water height it reached in your home, measured from the floor. Photograph your inventory list itself so you have proof of what you documented. Store all original receipts in a waterproof folder; digital copies uploaded to cloud storage provide backup protection. If you lack receipts for older items, gather estimates from retailers for comparable replacements-adjusters accept these as reasonable substitutes. The NFIP Claims Handbook recommends organizing documents by room and damage type, which accelerates the adjuster’s review process.
Submit Your Claim Form Accurately and on Time
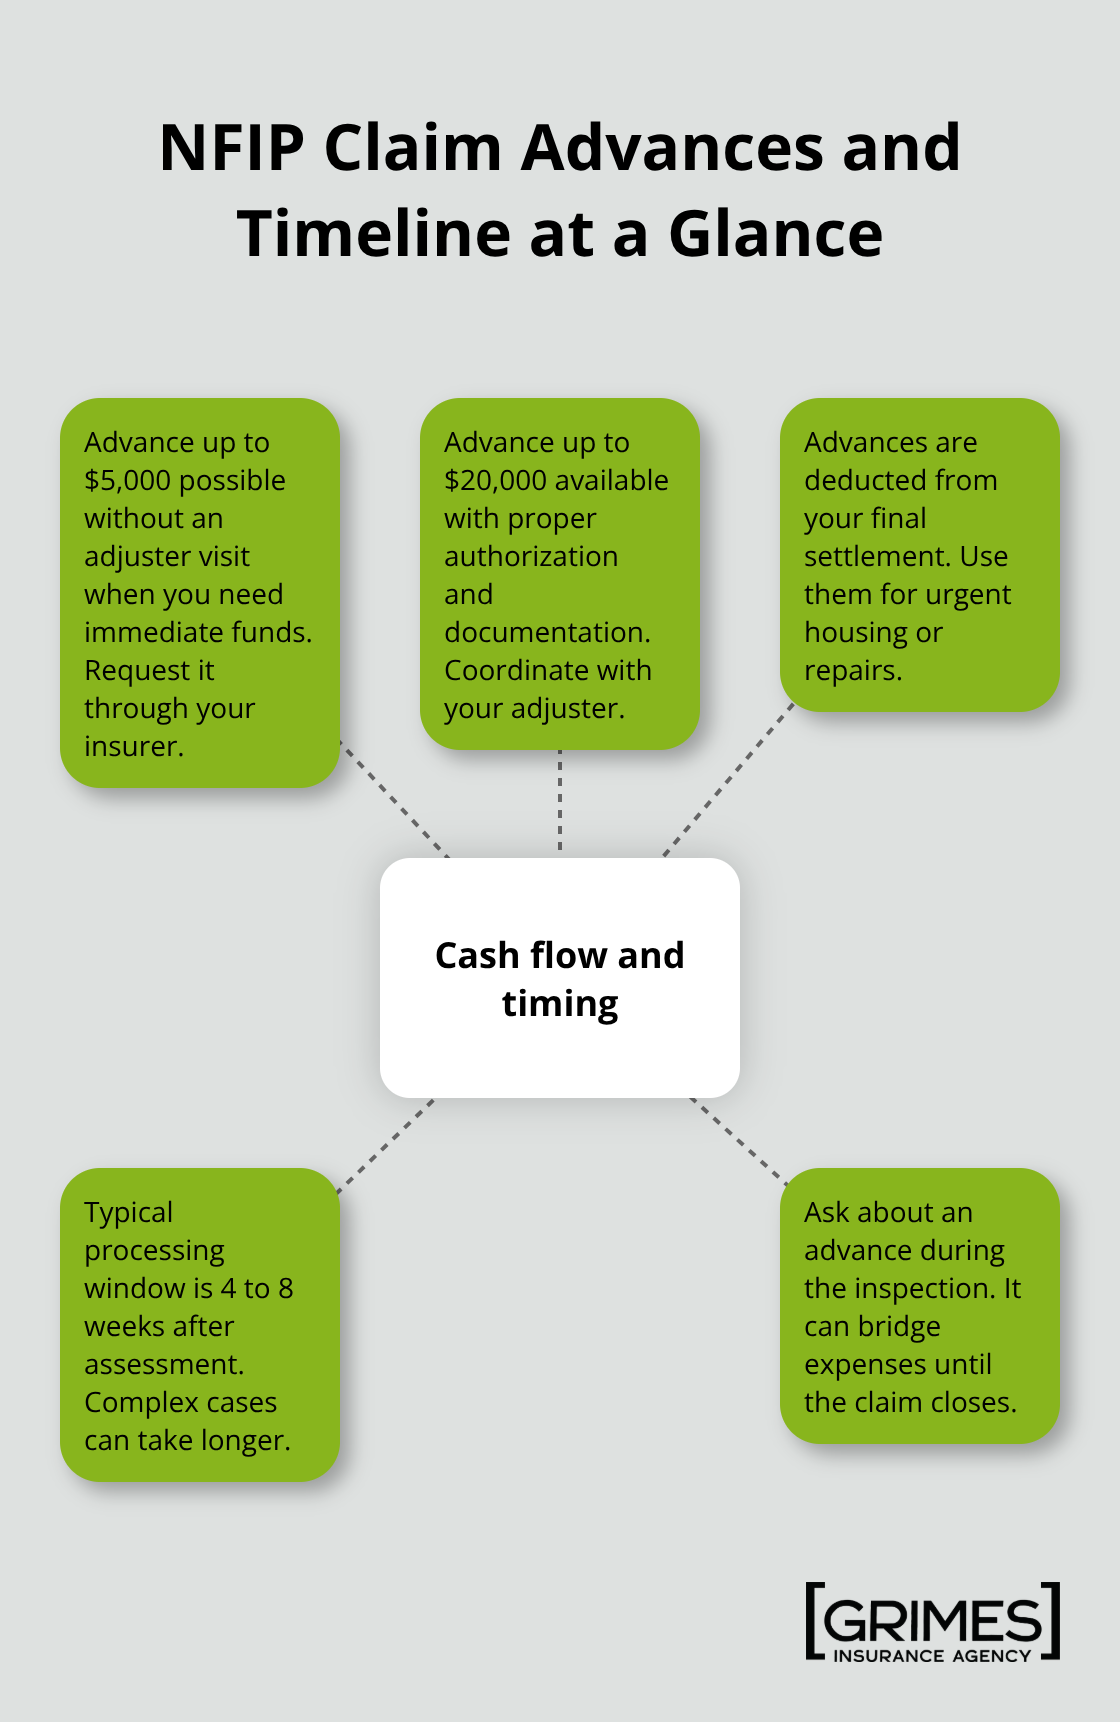
Complete your claim form with absolute accuracy and submit it within your policy’s deadline. FEMA allows advance payments up to $5,000 without an adjuster visit, or up to $20,000 with proper authorization and documentation, so request an advance if you face immediate housing or repair expenses. The advance amount deducts from your final settlement, but it provides cash flow when you need it most. Most NFIP claims finalize and receive payment within 4 to 8 weeks, though complex cases occasionally extend longer.
Prepare for the Adjuster’s Review
When the adjuster contacts you, have your complete documentation ready and ask to see their Flood Control Number card before discussing anything. Verify any adjuster’s credentials carefully, as imposters posing as government agents target flood victims. If part of your claim receives denial, you have the right to appeal through FEMA. Do not accept a partial denial without reviewing the NFIP Policyholder Rights Fact Sheet on appealing. Your agent can guide you through the appeal process and explain coverage decisions that seem unclear.
With your claim submitted and your documentation organized, the adjuster’s assessment determines what happens next. Understanding what to expect during the inspection and how the settlement timeline works helps you plan your recovery more effectively.
What Happens When the Adjuster Arrives
An adjuster will contact you within days of filing your claim to schedule an inspection. This meeting determines your settlement amount, so preparation matters significantly. Have your complete documentation ready before the adjuster arrives. Lay out your photos, videos, inventory lists, receipts, and any fabric swatches or material samples in organized order by room. The adjuster will walk through your property, take their own measurements and photos, and verify the damage matches your claim form. Average flood claim payments vary based on your documentation and policy coverage, but thorough records directly support your settlement outcome.
Verify the Adjuster’s Credentials
When the adjuster arrives, ask to see their Flood Control Number card immediately and verify their credentials before discussing anything. This protects you from imposters who target flood victims. Legitimate representatives expect this question and will provide their identification without hesitation. Fraudsters posing as government agents or adjusters exploit the chaos after a flood, so this simple verification step saves you from potential scams.
Walk Through the Inspection With the Adjuster
Walk alongside the adjuster and point out all damaged areas, including hidden damage behind walls or in crawl spaces. Most adjusters appreciate homeowners who ask questions about specific damage assessments. If the adjuster’s initial estimate seems low compared to your documentation, speak up during the inspection rather than waiting for the final report. The adjuster will provide you with a damage estimate to review before submitting it to your insurer.
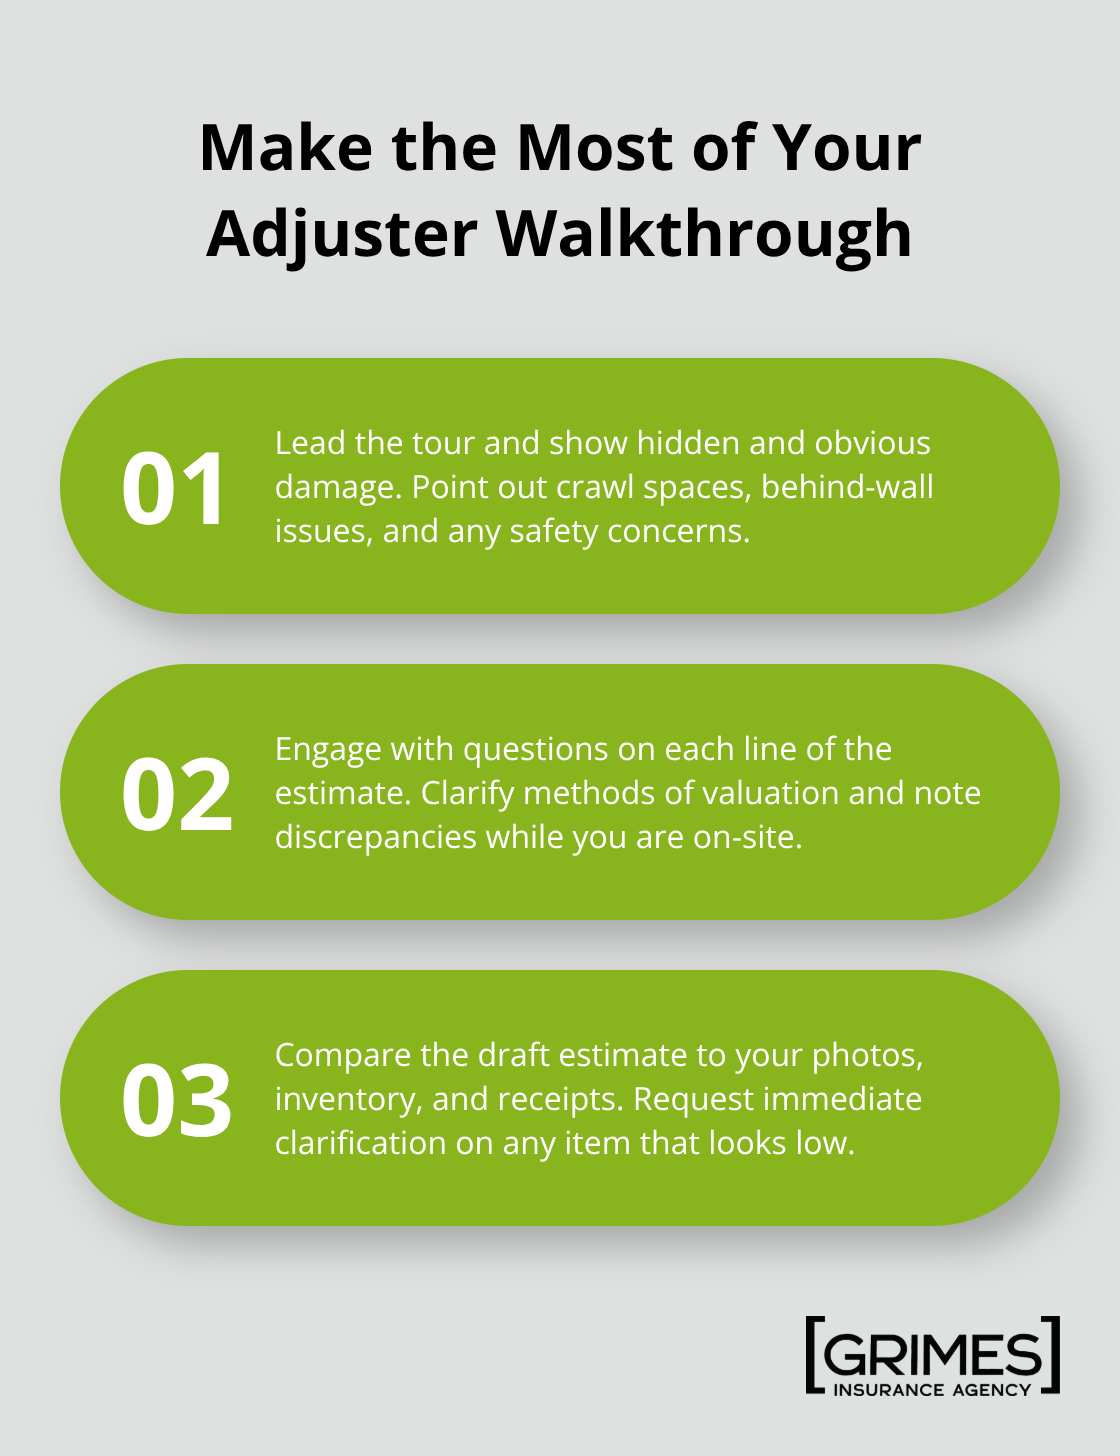
Review this estimate carefully against your inventory and receipts. If you disagree with any line item or valuation, request clarification immediately.
Request an Advance Payment if Needed
Discuss whether an advance payment makes sense for your situation while the adjuster is present. FEMA allows advance payments up to $5,000 without an adjuster visit, or up to $20,000 with proper authorization and documentation. An advance provides cash flow when you face immediate housing or repair expenses. The advance amount deducts from your final settlement, but it helps you manage urgent costs during recovery.
Understand the Settlement Timeline and Appeal Rights
Most NFIP claims finalize and receive payment within 4 to 8 weeks after the adjuster completes their assessment, though complex cases occasionally extend longer. Once the adjuster submits their report, your insurer reviews it and issues a settlement decision. If your claim receives partial or full denial, you have the right to appeal through your insurer or directly with FEMA. Do not accept a denial without consulting the NFIP Policyholder Rights Fact Sheet on appealing, which outlines your rights and timelines. If part of your claim is denied, you can request a detailed explanation of the coverage decision and appeal within the timeframe specified in your denial letter. Contact the Office of the Flood Insurance Advocate if you encounter disputes or need guidance on coverage decisions that seem unclear. Your agent can guide you through the appeal process and help you understand why certain items were denied.
Receive Your Settlement and Plan Next Steps
The amount you receive depends on your policy coverage limits and the quality of your documentation. If you have a mortgage, your insurer will issue the check to both you and your mortgage holder, so both parties must sign before funds are released. Start planning your repairs and recovery timeline once you receive your settlement, but consult your agent before signing any contractor agreements to confirm what work qualifies for coverage under your policy.
Final Thoughts
Filing a flood insurance claim successfully requires speed, documentation, and organization. Homeowners who photograph damage immediately, contact their agent within hours, and gather receipts before the adjuster arrives recover fastest and receive higher settlements. Your documentation directly determines your payout, so treating this process seriously pays off in both dollars and peace of mind.
Before you hire contractors or purchase materials, consult your agent about what repairs qualify for coverage under your policy. Increased Cost of Compliance coverage can provide up to about $30,000 to help bring your home into compliance with floodplain management requirements, and understanding what your policy includes prevents costly mistakes. Elevating utilities, appliances, and electrical systems above expected flood levels protects your home and may qualify you for lower insurance premiums.
We at Grimes Insurance Agency help homeowners navigate how to file a flood insurance claim and recover successfully. Whether you need to review your current coverage, purchase flood insurance before disaster strikes, or navigate a claim in progress, contact our team in Lubbock, Texas to discuss your flood protection options.
Disclaimer: The information provided in this blog is for general informational purposes only and does not constitute legal, financial, or insurance advice. Coverage options, terms, and availability may vary. Please consult with a licensed professional for advice specific to your situation


